Flowboard is a free app for the iPad (also works on the web) that allows you to create interactive, multimedia presentations. Through simple touch gestures, you can add images, text and video to create a highly visual and engaging presentation or tell a powerful digital story. Flowboard is filled with loads of great features and students will find the app relatively intuitive. But don’t just take my word for it, some of the most well-known and respected tech news sources (besides the BHS Help Desk of course) agree that Flowboard is an awesome alternative to a standard (and often times dull) Google or PowerPoint presentation.
Experts Agree: Flowboard Is A Must-Try App!
CNET’s Jason Cipriani says, “Create amazing presentations on your iPad with Flowboard. Flowboard offers an intuitive app for creating presentations and digital photo books for you to share across the Web.” Anthony Ha from Tech Crunch believes that “The presentations look great on the iPad and, by allowing users to zoom in on specific images or topics Flowboard enables the creation of presentations that go “deeper.” And Gizmodo’s Ashley Feinberg exclaims that Flowboard “Lets you create presentations, scrapbooks, and anything else you might need in which to compile links, photos, movies, and text into a convenient, lovely to look at package.” Bottom line is if you are a teacher or a student in a 1:1 iPad environment, Flowboard is definitely an app you should install and experiment with the next time you need to create a presentation or tell a digital story. The walk through below will show you how easy it is to create and share an outstanding presentation using Flowboard.
Step 1: Selecting a Template
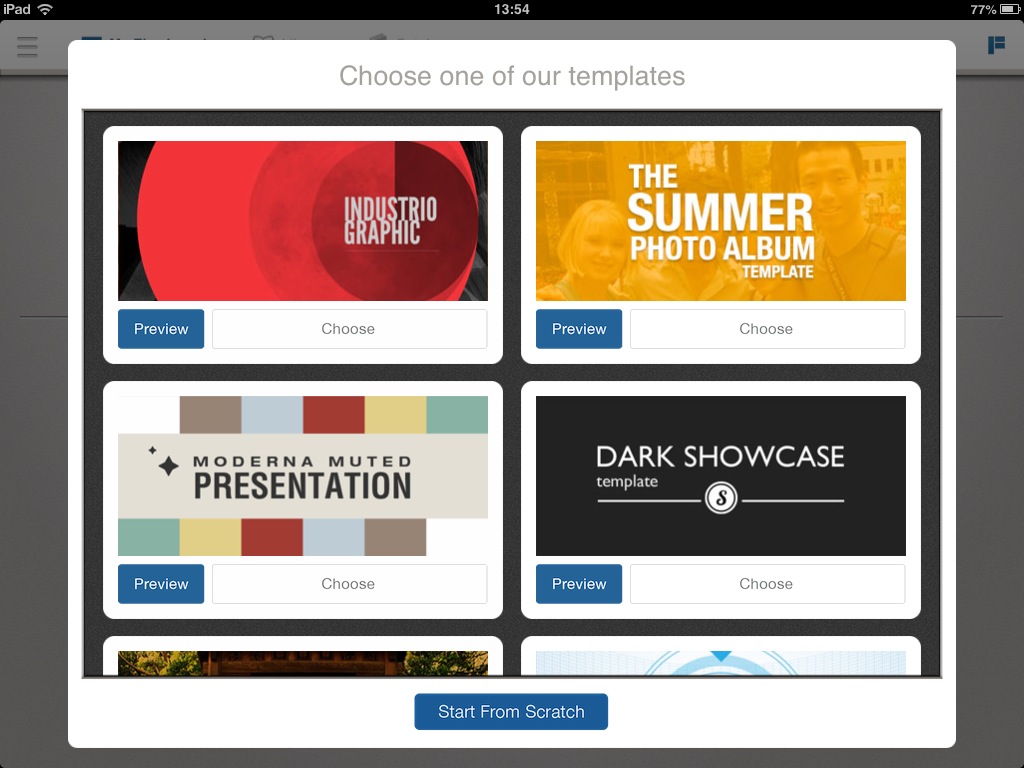
After installing and opening the app, click the large plus button to start a new Flowboard. You’ll be prompted to select a template, or you can start from scratch. There’s a good selection of free templates to choose from including Business Presentation, Vlogger, Portfolio, Science Rules, and School Report. There are several “premium” templates that cost $1.99. Using a template will assist you with the design and layout of the presentation and the color scheme can be fully customized.

Step 2: Screen Layouts
After selecting the template, you will be prompted to select a screen layout. Each slide can have a different layout. Templates offer built-in layouts with custom template graphics that can be embedded into the presentation.


Step 3: Adding Content
If you want total creative freedom, you can start from scratch with a blank Flowboard. After tapping “Start from Scratch”, you will be in the editing screen for your Flowboard presentation. You can name your Flowboard and tap on the first slide to start working on it. By tapping the slide you will be taken into full screen mode and you can insert objects including text boxes, images, videos, Drive files, and more by tapping two fingers on the screen. Media and files from Facebook, Dropbox, Instagram, Box, and SkyDrive can be added to a Flowboard. You can easily zoom in and out of images and resize videos.

You’ll see that after creating/tapping an object, a frame appears around it and you can tap the plus in the center of the frame to bring up the import media menu.

Simply tap on the media type you’d like to add and then a secondary menu will appear.

Once you are finished editing your slide, you tap “done” in the top right corner and create more slides by tapping “add screen.” Each time you tap on an object on the slide, a frame will appear around it. You can then tap and drag the frame to resize the object. To re-size images within frames you can use the typical pinch-zoom gesture to zoom and shrink images within the frames. You can even rotate images, by twisting the object with two pinched fingers, allowing you to position presentation elements exactly where you want them. As mentioned, Flowboard is “touch publishing” and objects are manipulated with simple gestures; either three finger swipe, two finger tap, on finger tap and drag, or two finger pinch and zoom.

Students will find building a Flowboard on their iPads is effortless, not to mention fun!
Step 4: Publishing and Sharing Your Flowboard
With the presentation complete, you can add the deck to the Flowboard servers by publishing it:

Once completed, Flowboards can be shared through Facebook, Twitter, or Email. Flowboards also receive a unique URL.

Ready To Get Started?
Flowboard has a simple tutorial on how to use the app which can be found here, but to really understand the full potential of the app, you should definitely check out Flowboards created by other users in their public catalog. Finally, you can view the Flowboard about the BHS Help Desk. And remember that Mrs. Scheffer and Help Desk students are available for classroom demonstrations as well as one on one assistance. If you are assigning one last presentation before the 2014 school year ends, definitely show your students Flowboard!

A sample template screen from the Flowboard app. Clickable links inside the app make it an interactive experience for users.


