To describe the new Adobe Voice iPad app in one word, it would be awesome.
Adobe Voice Overview
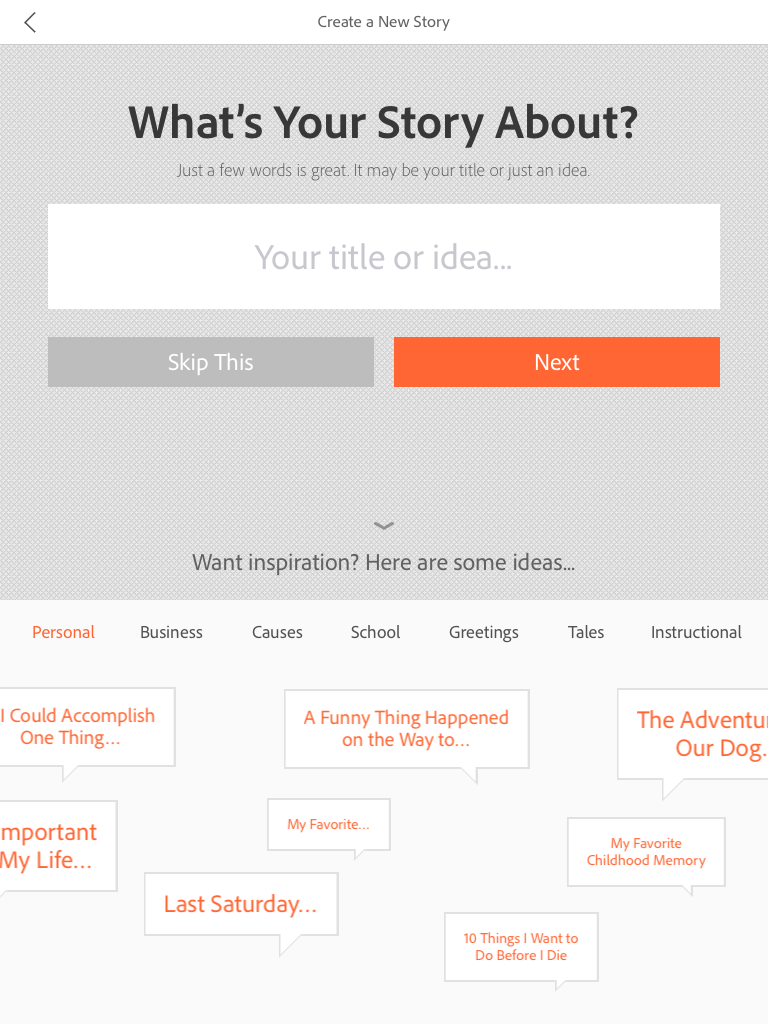
 Adobe Voice is an exciting new app for the iPad which combines images, music, text, and voice to create animated videos on any topic imaginable. It is a great tool to use in a 1:1 classroom for digital storytelling, broadcasting, or communicating ideas. The app promotes creativity and collaboration and it can be used in any content area, grades K-12. Adobe Voice provides a large collection of ideas and inspiration to get started. The app breaks down story ideas in the following categories; personal, business, causes, school, greetings, tales, and instructional.
Ideas for the classroom include:
Applying the Scientific Method
Summarizing Hamlet in 60 Seconds
The Top 10 Things You Should Know About
The History of Google
A Five Paragraph Essay On…
Simple, Yet Slick:
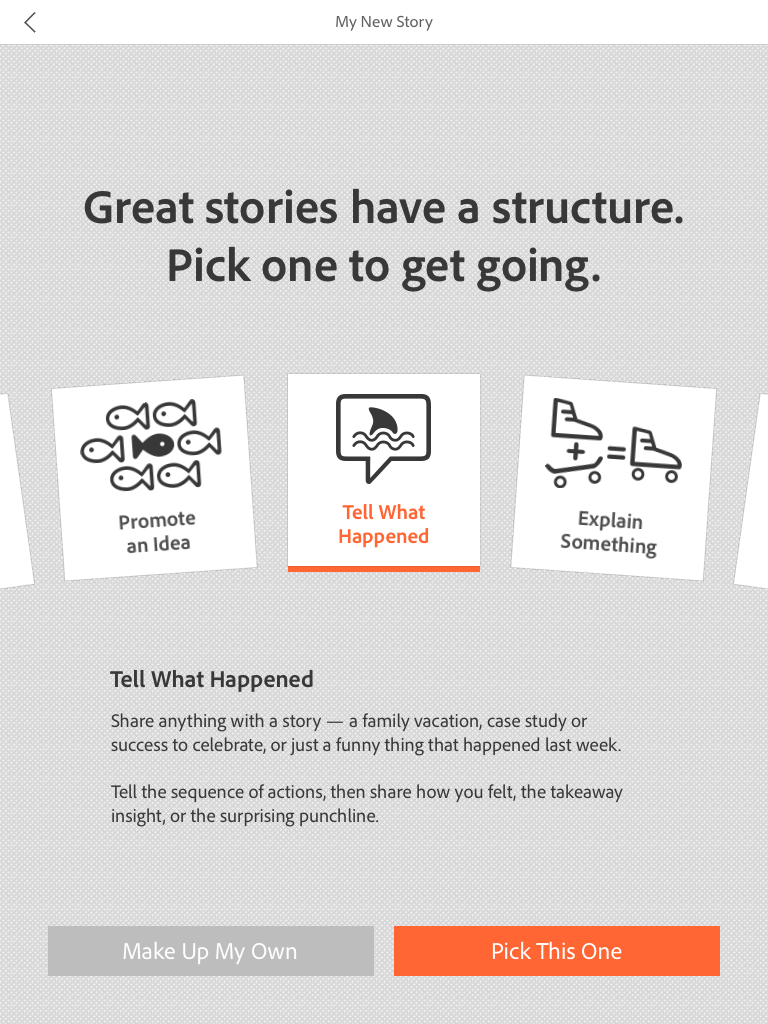
Creating a video in Adobe Voice is a simple process. You begin by selecting what Adobe calls a “structure” for your story. These structures are essentially templates which provide you with assistance as you create your story. You can select one of the following templates to help you build your story: promote an idea, tell what happened, explain something, follow a hero’s journey, show and tell, share a growth moment, teach a lesson, share an invitation, and make up my own.
Creating a Powerful Story
A great feature of Adobe Voice is the built in tutorial. For example, if you select “explain something” for your story structure, you will be taken to that template which has 7 slides (you can add as many slides as you want). Each slide has a title with suggestions on what types of content you can add. In the explain something template, the first slide is the “Hook” and you are prompted to “share something catchy-an interesting fact, moment, problem, or question-that intrigues your audience.” The next slide is “The subject.” Here you are told to “describe and show the subject that you are talking about.” The next three slides are the “facts and benefits.” You are reminded to tell a story that will interest, excite, or help your audience. The last two slides are the “summary” and “next step.” On these slides you are asked to leave your audience with your big idea and provide them with information on how they can learn more about what you just explained or how they can use what they’ve just learned. No matter which template you pick, the app will provide you with a slide-by-slide guideline for creating the most powerful story possible.
Presentation Layouts & “Things”:
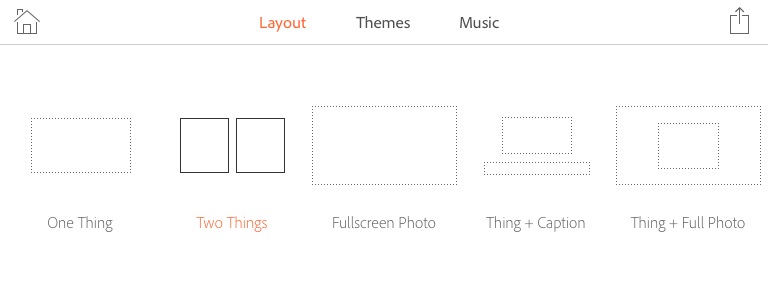
Layouts make it easy for the user to create a highly customized, professional presentation. On each slide of the presentation, a different layout can be selected. Layouts include:
- one thing
- two things
- full screen photo
- thing + caption
- thing + full photo
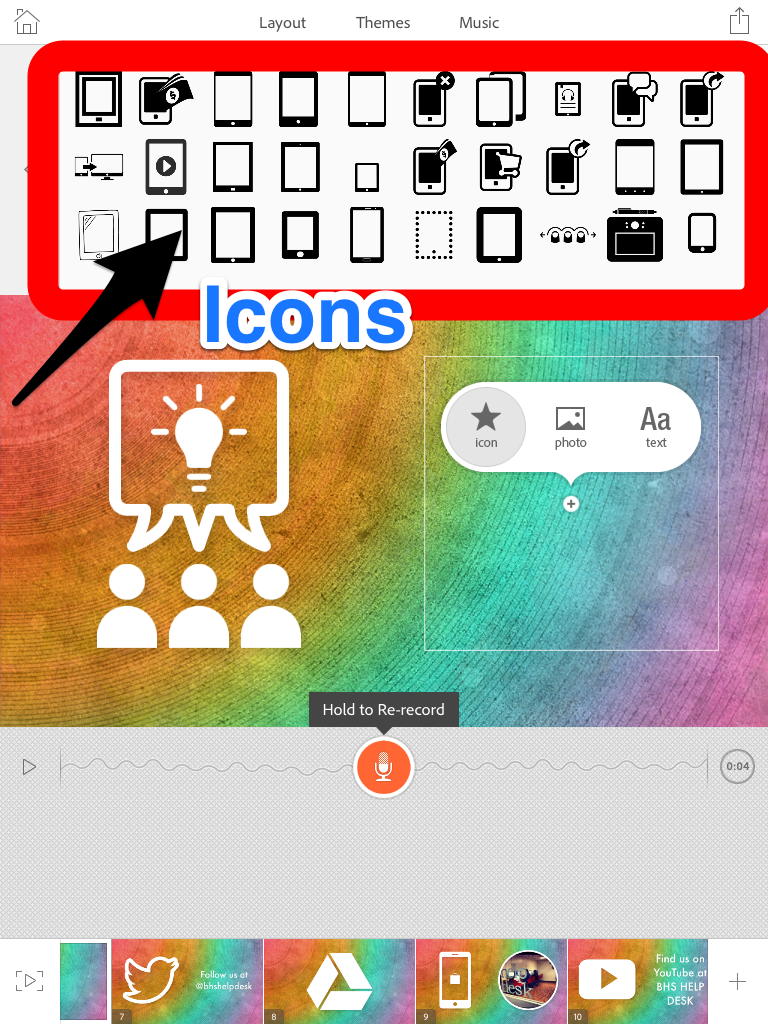
The “things” referred to in the app are icons, photos and text. Upon selecting “icon,” the user can search by key word for virtually anything they can think of. Photos can be added through taking a picture, searching the web, or from the iPad camera roll, Dropbox, or Facebook. Adobe Voice has over 100,000 beautiful, Creative Commons licensed images to choose from.
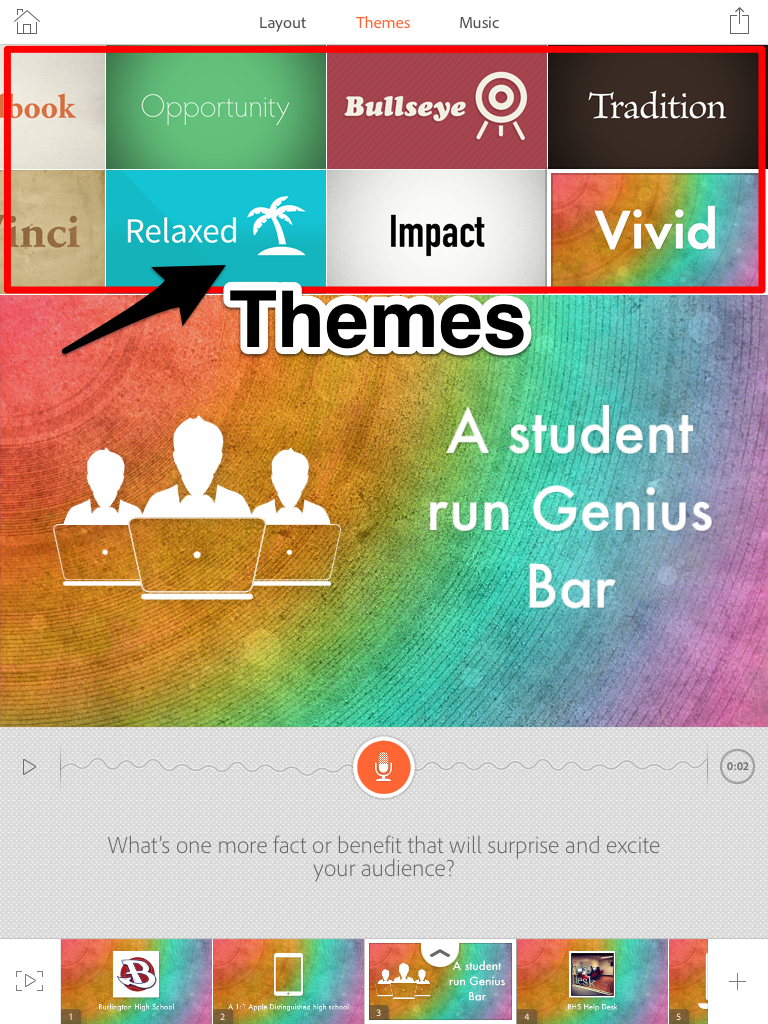
Telling Your Story and Setting a Theme
To record voice in the story, just click the record button. Once you record, you can preview the recording and either keep it, or record over. There is no editing feature in Adobe Voice, so it is wise to write a script before recording. Another great feature of the app is the ability to collaborate. If students are working on a group project, they can easily create the story and record the audio as a group. Once the audio has been recorded, different themes can be applied to the story to make it visually aesthetic (applying a theme can actually be done at any point during the creation process). Each theme comes with its own color scheme and fonts which gives the story a distinct look and feel. There are 32 themes in all including Da Vinci, Technical, Grunge, Chalk, Film, Blueprint, Playful and more.
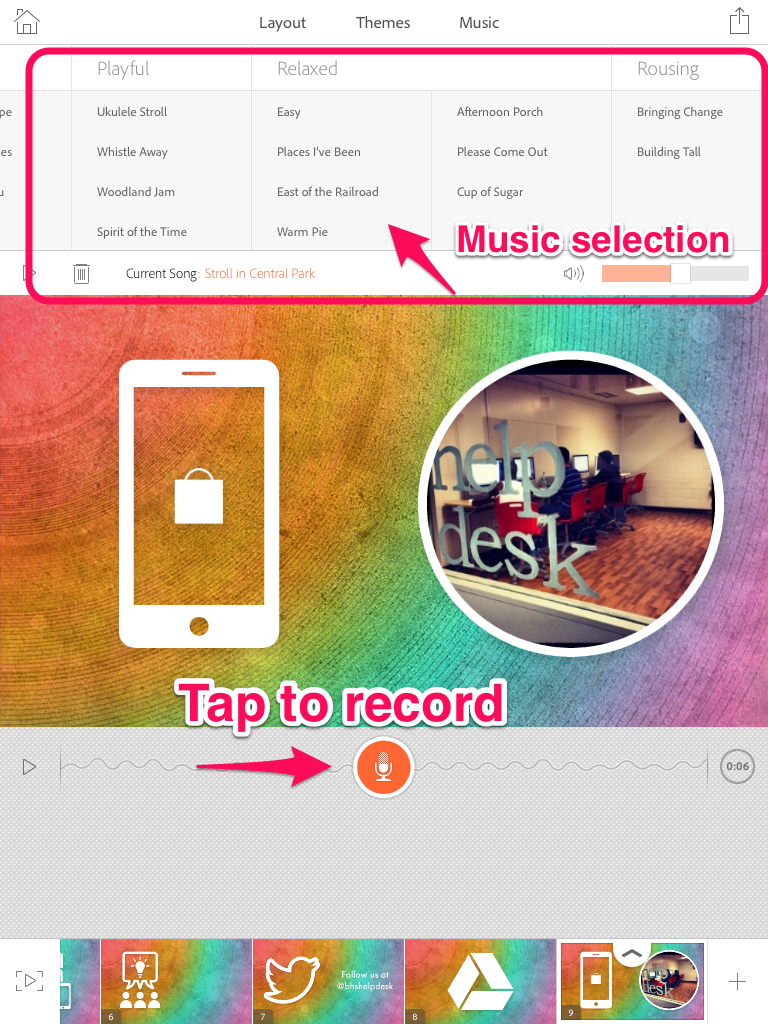
Adding a Soundtrack
After choosing a theme, the user can also choose to add in background music, or a soundtrack. Music is a powerful element to add to any digital story. It can be used to draw your audience in and spark emotion. Adobe Voice offers a relatively large selection of quality music in categories including Happy, Playful, Relaxed, Rousing, Thematic, Thoughtful, Uplifting, and Warm. You can also add music from your own music library.
Sharing Your Completed Story
When the story is completed, just click the export button located at the top right of the screen. There is an option to make the story public or private and also share through Facebook, Twitter, Email, iMessage, or a link. Overall, Adobe Voice is a superior digital storytelling application that is intuitive and user friendly. Should you have any questions about Adobe Voice, you can visit their support page or their website, or you can come to the Help Desk for one on one assistance. Help Desk students are also available for classroom demonstrations of Adobe Voice to show students how they can start creating their own digital stories in just minutes! Below are links to three sample projects which demonstrate the features of the app. The first provides an overview of the Help Desk program and was created by senior Help Desk student Nick Merlino. The second explains the nine elements of digital citizenship and was created by senior Emily Bertolami. The last example was created by Mrs. Scheffer and it explains the fours phases of the SAMR model.
Drawbacks
Adobe Voice is definitely a must-try for students and teachers, but no app is perfect. The first drawback is the inability to import video. However, it seems as though the focus of the app is offering users the ability to use their oral communication skills to tell a powerful story. Additionally, not every student enjoys being on camera, so Adobe Voice is a suitable alternative for students who prefer to stay “behind the scenes.” Another disadvantage of the app is the inability to save a completed project to the camera roll and/or upload a finished video to YouTube or Vimeo. Lastly, you are limited to two pictures per slide. Although it would be nice to add more content, the basic features of the app force students to think creatively and this is why the features of the app outweigh the disadvantages. The video below shows you how simple it is to create and share a video with Adobe Voice.
